
 Do you know what today is? My bet is if you are eating chocolate-covered Cheerios for breakfast you do. Chocoholics, rejoice! It is National Chocolate Covered Anything Day! Aah, I love December.
So today I have for you chocolate-mint dipped cookies. Basically Thin Mints, those timelessly tempting sirens of the Girl Scout line-up. They taste and look just like 'em. Even better, actually. And they are fun, fun, fun to make. If you consider dipping things in chocolate as therapeutic as I do.
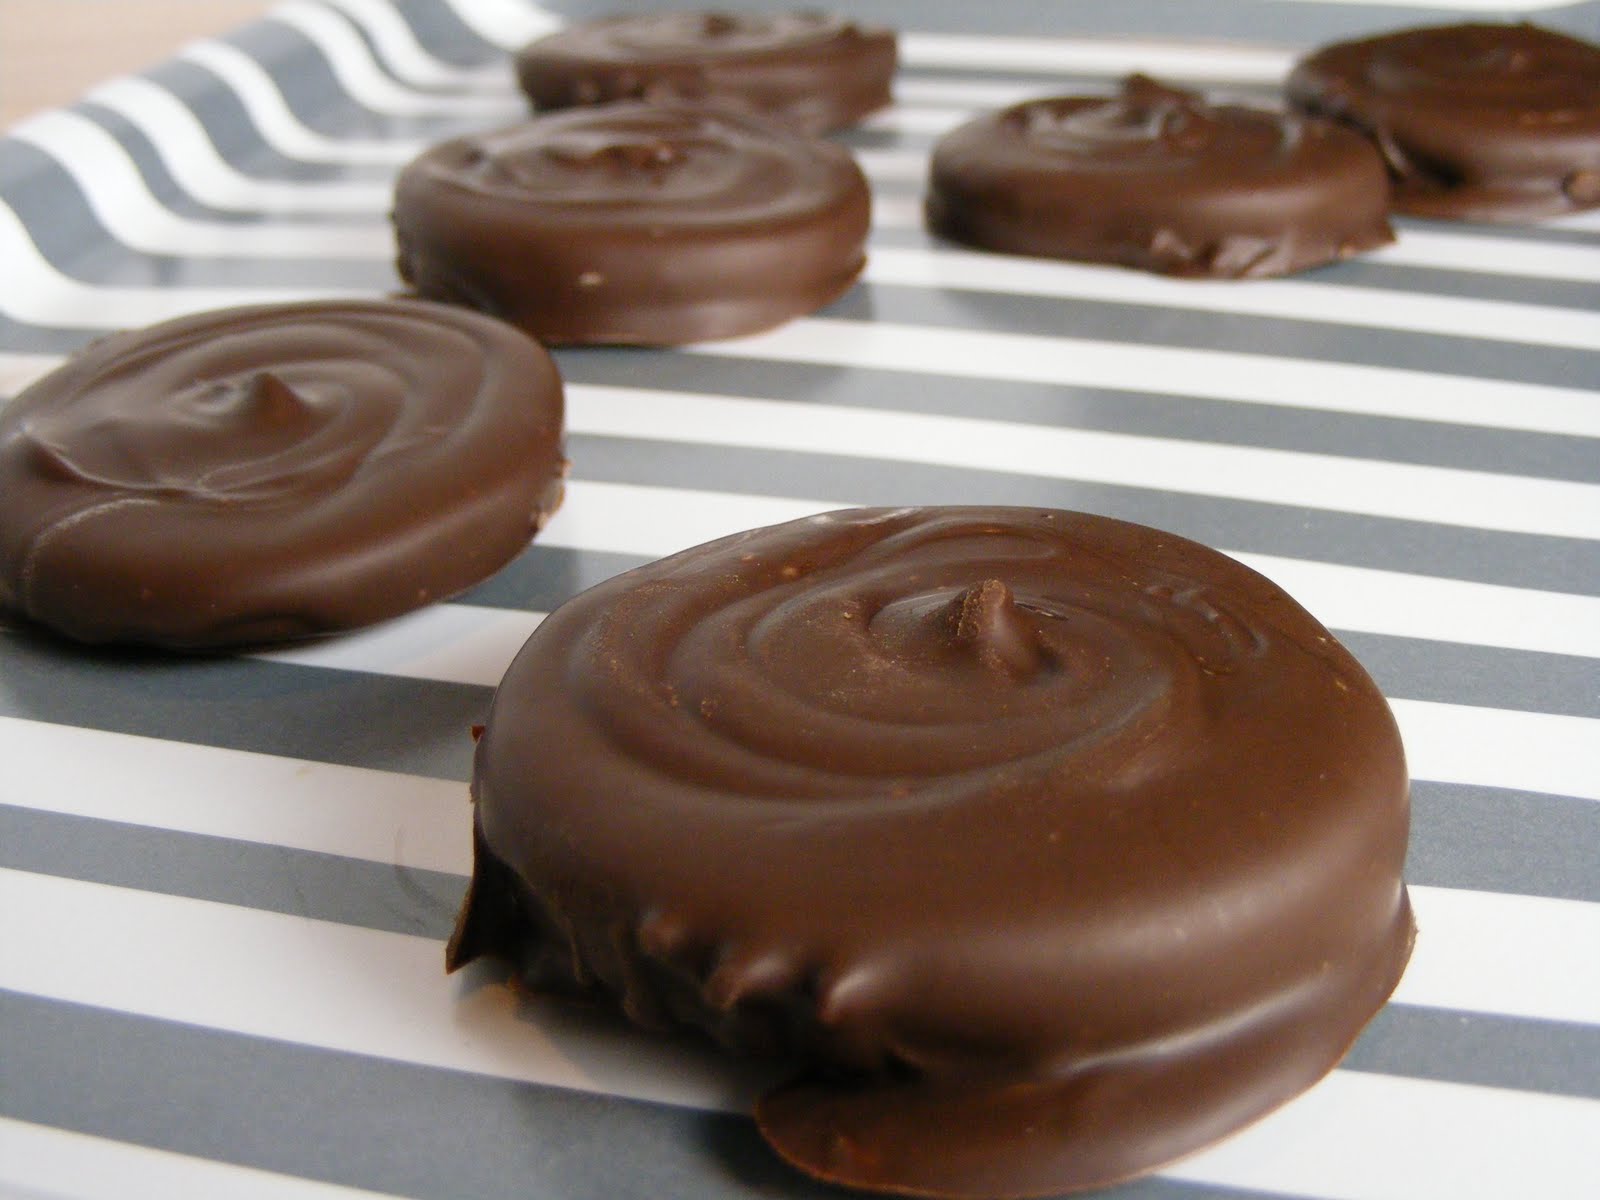
How do you like my swirly top? At first they were flat and smooth, and since I didn't feel like sprinkling them with crushed candy canes (although you certainly could), I took a toothpick and made them twirly-swirly.
 Hey, I knew these would be a home run, and since they happen to fit into MINTY Week AND Chocolate Covered Anything Day, I stayed up extra late to get these posted today. But if you're a little tired of mint, or curious about your chocolate-dipping options, CDKitchen has a nice list of recipes for you. And don't forget my serendipitously timed Dipping Tutorial.
Dipped Mint Chocolate Cookies
1 cup butter, softened
1 cup sugar
1/2 cup unsweetened cocoa powder
1 1/2 tsp baking powder
1/2 tsp salt
1 egg
1 tsp vanilla extract
2 1/2 cups all-purpose flour
Chocolate-Peppermint Coating (see below)
1. In a large bowl, beat butter with an electric mixer on medium to high speed for 30 seconds. Add sugar, cocoa, baking powder, and salt. Beat until combined, scraping bowl occasionally. Beat in egg and vanilla until combined. Beat in as much of the flour as you can with the mixer (I did it all.) Beat in remaining flour with wooden spoon if your mixer isn't tough enough.
2. Divide dough in half. Shape each half into a 10-inch roll. Wrap each roll in waxed paper or plastic wrap. Chill at least 1 hour or until dough is firm enough to slice.
3. Preheat oven to 375. Cut rolls into 1/4-inch slices (envision the thickness of a Thin Mint.) Place slices 1 inch apart on an ungreased cookie sheet (they do not spread much.)
4. Bake in preheated oven for 6 to 8 minutes or until edges are firm. Transfer cookies to a wire rack; cool.
5. Dip each cookie into Chocolate-Peppermint Coating, turning to coat all sides of cookie. Using a thin metal spatula or fork, scrape or shake off excess coating so cookie is covered with a thin layer. Reheat coating as necessary. Place cookies on cookie sheets lined with wax paper, not touching. If desired, sprinkle with crushed peppermint candies while coating is still wet. Or make yours swirly like mine with a toothpick. Chill until coating is set, about 30 minutes. Makes about 68 cookies.
Chocolate-Peppermint Coating
24 oz. semisweet chocolate pieces or chopped dark chocolate
1/4 cup (4 T) shortening
1/2 tsp peppermint extract
In a medium saucepan, combine chocolate, shortening and extract. Cook and stir over medium-low heat until chocolate and shortening are melted.
To Store: Layer cookies between sheets of waxed paper in an airtight container; cover. Store in refrigerator for up to 3 days or freeze for up to 3 months.
Recipe from Better Homes and Gardens Christmas Cookies magazine, December 2010
Click here for printable recipe
2 comments:
we're half-way through the month and you're still nailing it every day. go kari!
These were divine!
Post a Comment